
I got this email from Susan:
Hi, I am an avid reader of your blog and have been trying to use your directions to print out my own dog silhouettes using illustrator but am having issues...how did you fill your image with color? Is there anyway you could help a newbie to illustrator out by providing more detailed step by step instructions? I would appreciate it very much! I love your living room!!
Thanks for the email Susan! Illustrator is a tricky program to learn. I use it almost on a daily basis for work, and still have many things to learn.
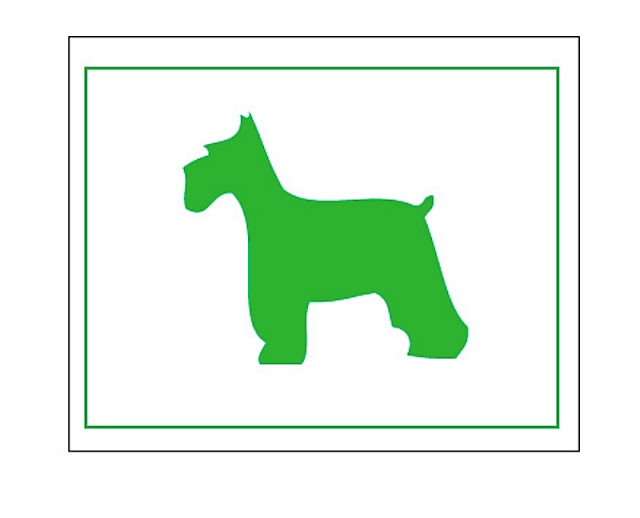
Here are some hopefully super easy (or at least visual) directions on how to create a dog silhouette in Illustrator.
(Please note that my Illustrator is CS4 for a Mac. While this shouldn’t make a difference, if my program looks a tad different in the photos – that is why).
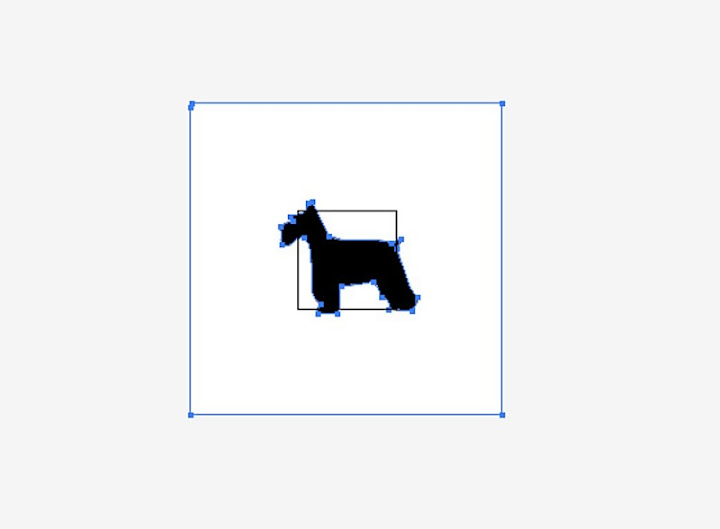
1. Once the photo is in Illustrator, select the photo and hit the Live Trace button.

2. You’ll notice that Live Trace will start the process of making the image your own.
3. Select a Preset (shown in the first arrow). The best way to get to know what each preset does is to try them all. Once you find the appropriate Preset for your image, click Expand.

4. Congratulations, you just created a vector image. A vector image is the best possible image to have – it means you can increase the size of your image as much as you want without distorting it. So go ahead and increase the image to the size you need.
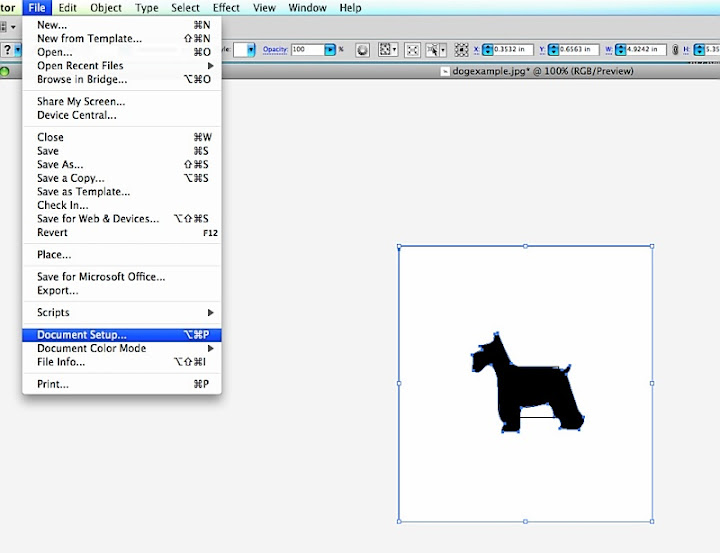
5. If your artboard isn’t the correct size (you can see in photo 4 how small mine is), go to Document Setup and then click Edit Artboard. From there you’ll be able to adjust the artboard to your liking.
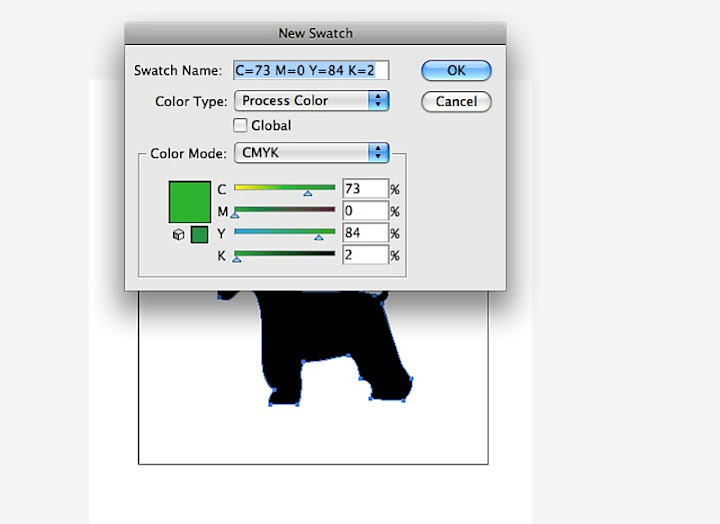
6. Want to change the color of your image? Click the new swatch button, and then the color mode you want. I also select CMYK, but that’s a personal preference. ☺

7. Adjust the color to the exact shade you want.
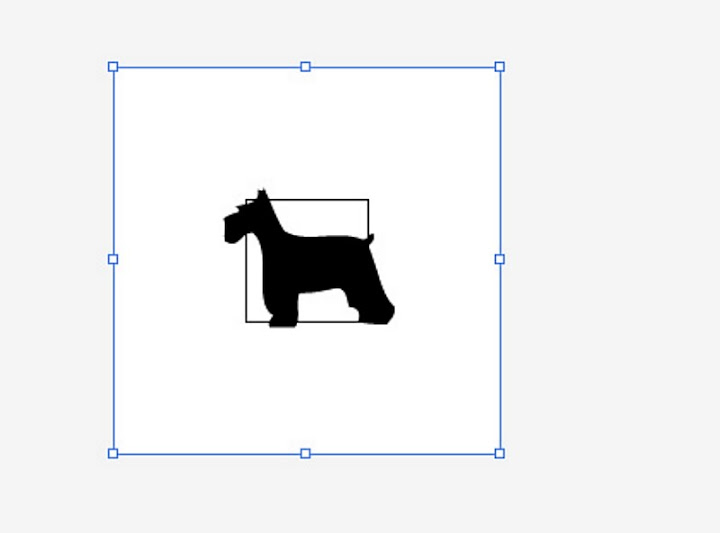
8. Now that the color is saved, you’ll be able to access it in 2 places. To get the object to fill with the color you made, select your object with the second arrow tool.

9. To make a border, use the box tool.
10. Done!
this is amazing. And sooo sweet of you to take the time to do this tutorial! you readers appreciate it!! :)
ReplyDeletewww.bazaarofserendipity.blogspot.com
Thanks soo much for taking the time to do this Ashley!! I really do appreciate it.I did not expect to become a post!! You are so talented!
ReplyDeleteSusan
Susan – Your question was worth an entire post. :)
ReplyDeleteA lot of people (myself included) are visual learners, so I should have done my instructions by photo in the first place.