Showing posts with label reader question. Show all posts

Tuesday, March 23, 2010

Reader Question: My Fireplace

I've had a lot of comments/questions/requests about my old-school fireplace, as well as the art on it.

Most everyone who emails me, seems confused about what to do with their brick and raised-hearth situation. I just want to let you all know that I am confused with you. While I find fireplaces visually appealing, the amount of room mine takes up can be frustrating at times.

My fireplace at the moment:


My plans for the fireplace:
- Get rid of the brass. Once it's nice outside (and not raining), I'm spray painting that mofo black.
- For the shelves, I want to fill in the holes, paint it all white and then have a different color for the background. While I was debating green for awhile, I think a greige color would be best.

I will admit, at times I have considered painting the brick – but I can't bring myself to do it. I liked the brick better when the carpet was in, because of the contrast. Now, with the hardwood floors, it's just a lot of brown. Clearly, this is something I will not tackle unless I'm 100% for sure, and I don't know if I will ever reach that point.

As for the art on the fireplace, that's another Ashley original. I actually just put it up for the holidays, but then got lazy and never took it down. It's simple enough to make – paint the canvas white and then use painter's tape to create the squares. I actually made it in college after I got my tonsils out and was stuck in my apartment. I've done a color switcheroo since then, and the only original color left is yellow.

I hope that answers are the fireplace comments and requests. :)

Tuesday, March 9, 2010

Reader Question: Painting a Vanity

First, I must say I am so excited about all the emails I've been getting with questions and comments. Thank you. While most of the time I just email the answer back, when I receive the same question several times – I've decided to post it as a reader question. So, keep the questions coming and have a great week!

Hi Ashley,
I am a fairly new reader to your blog but I had a question for you. My fiance and I are working on decorating our first house and we have plans to paint the vanity in our tiny master bathroom white. I noticed that you did the same thing in one of your bathrooms. I was wondering if you had any words of wisdom to help us.
Thanks!
I think the concept of painting, whether it's doors, cabinets or furniture seems scarier than it really is. My bathroom vanity project was my first cabinet-painting experience, and I was thrilled to discover it didn't stress me out as much as I expected. I have to admit though, even now, there's something about the words "paint" and "cabinets" that I just don't like in the same sentence. (This is also why I don't discuss my kitchen).

Anyway, back to cabinet fun. Here are my tips...
- Use semi-gloss or gloss (anything lower in the gloss-factor than that will not clean up easily and bad things will happen). I used semi-gloss and am really happy for it.

- Make sure to sand. I know it's not fun, but having a roughed-up finish will help the paint stick better. (This is definitely my least favorite part about painting, so Brent and I struck a deal – he does the sanding and clean up from sanding and I do the rest. Sure, my side is more work, but that just shows how my feelings about sanding).

- If you have flat cabinets, awesome, that will be easier for you. If not, paint the insets first with a small brush. Then move on to the rolling.

(A visual of painting the insets first, as well as a visual of what I'm currently working on – more doors, shocking, I know).

- My roller of choice for anything wood (cabinets, doors, furniture) are the small foam rollers. The foam makes the paint go on evenly without in bubbling.

- Once all the coats are done, be patient. If you're anything like me, you'll be super excited to put everything back in so you can admire your work. Try to wait 24 hours before putting things back in, this will help prevent objects sticking to the paint.

I hope that helps!
Ashley

Monday, March 1, 2010

Reader Question: Some Illustrator Help


I got this email from Susan:

Hi, I am an avid reader of your blog and have been trying to use your directions to print out my own dog silhouettes using illustrator but am having issues...how did you fill your image with color? Is there anyway you could help a newbie to illustrator out by providing more detailed step by step instructions? I would appreciate it very much! I love your living room!!


Thanks for the email Susan! Illustrator is a tricky program to learn. I use it almost on a daily basis for work, and still have many things to learn.

Here are some hopefully super easy (or at least visual) directions on how to create a dog silhouette in Illustrator.

(Please note that my Illustrator is CS4 for a Mac. While this shouldn’t make a difference, if my program looks a tad different in the photos – that is why).

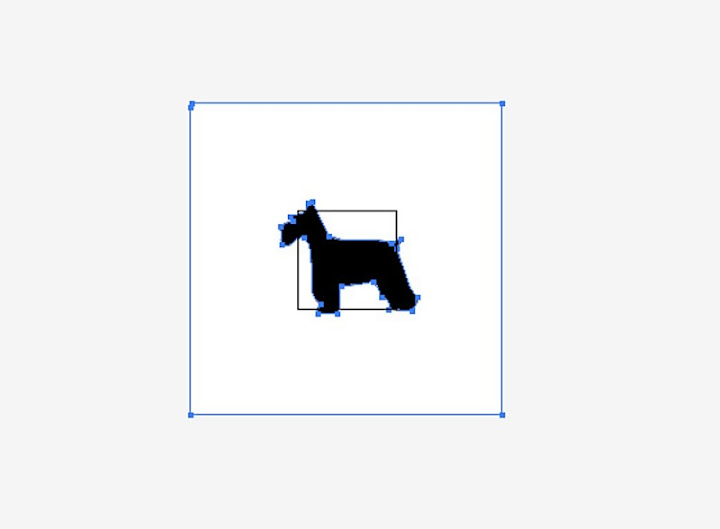
1. Once the photo is in Illustrator, select the photo and hit the Live Trace button.

2. You’ll notice that Live Trace will start the process of making the image your own.

3. Select a Preset (shown in the first arrow). The best way to get to know what each preset does is to try them all. Once you find the appropriate Preset for your image, click Expand.
4. Congratulations, you just created a vector image. A vector image is the best possible image to have – it means you can increase the size of your image as much as you want without distorting it. So go ahead and increase the image to the size you need.

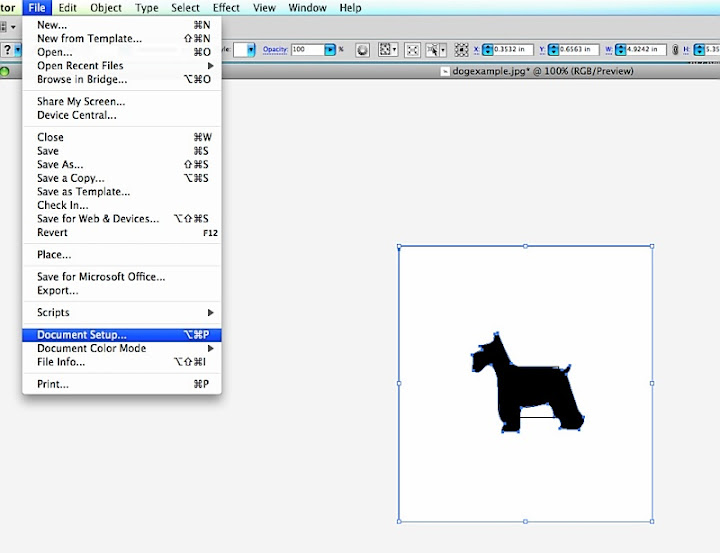
5. If your artboard isn’t the correct size (you can see in photo 4 how small mine is), go to Document Setup and then click Edit Artboard. From there you’ll be able to adjust the artboard to your liking.
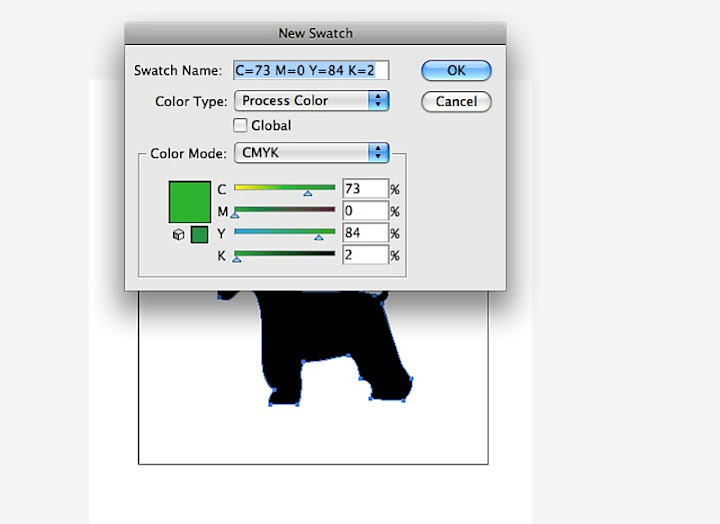
6. Want to change the color of your image? Click the new swatch button, and then the color mode you want. I also select CMYK, but that’s a personal preference. ☺
7. Adjust the color to the exact shade you want.
8. Now that the color is saved, you’ll be able to access it in 2 places. To get the object to fill with the color you made, select your object with the second arrow tool.
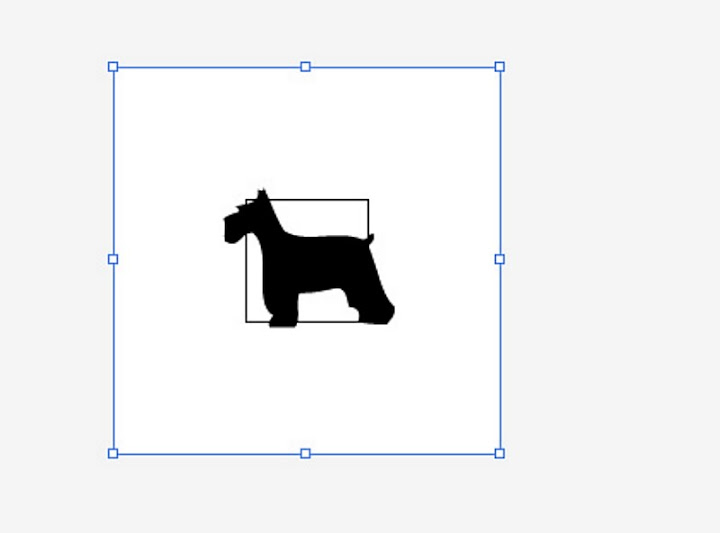
9. To make a border, use the box tool.
10. Done!